Latest Article

How To Create Splash Screen

Detail


This tutorial shows how to create splash screen for Delphi Application

1.       Open Delphi
2.       Create new application,  File->New->Application

3.       Set Form1 as the Main Screen, set the caption of Form1 into “Main Screen”

4.       Create another Form,  File->New->Form

5.       Set the new Form properties as follow

6.       Add  Label component into FSplashScreen Form, and set the properties as follow


7.       Add Timer component into FSlashScreen Form, the objective is we want to have our splashscreen showing for 5 second. To have it set the properties as follow.

8.       Set Event for Timer component, and add script into the event

9.       Open “view unit” window, view->units…


10.   Select project1 to edit the code

11.   You will see the code as follow

12.   Now edit script in the project file, the result as follow

13.   Finish!, now its ready for test. Press F9 to run the program.

Sharing Application

Detail
Here you can find some application that i made when i was in college.

1. Model ER
An application such as Visio, which can validate normalization and able to convert into SQL Script and Physical database. (Developed by Delphi 5)


To download the application, click below link

Download

2. Mobile Game

It was created for J2ME application competition @2001.

Roboto : Download, Copter : Copter


Firemonkey : How to create 3D animation in Firemonkey XE6

Detail

By M. Yadi M.


This tutorial shows how to create 3D animation. Here you will learn
1.       How to load 3D object
2.       How to animate 3D object
3.       How to add texture
Our objective as seen on below figure


Before we go into the codes, let’s prepare the 3D objects
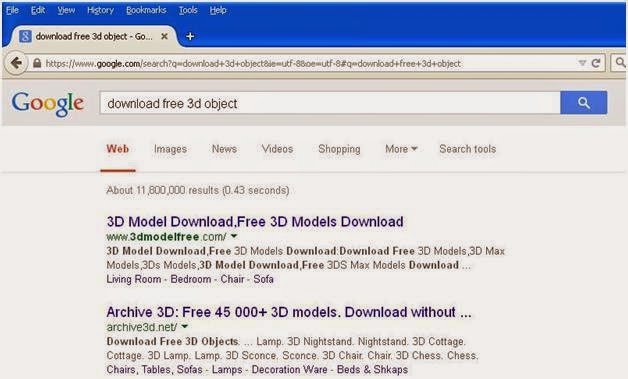
1.       You can download 3d objects from the internet

2.       Or you can create the 3D objects by your self


Let’s take above objects as our sample

Now we are ready for the code
1.       Open Delphi XE6

2.       Choose Firemonkey Mobile Application

3.       Select blank application

4.       For debugging purpose , add Platform on target platform then select  32Bit Windows, if your OS is windows 64 bit then choose 64bit Windows

5.       The form will be like below figure

6.       Let’s we define the components one by one

Component
Property
Value
Event
TViewport3D
Name
Viewport3D1

Align
Client

TDummy
Name
Hellicopter

Position.X
0

Position.Y
0

Position.Z
0

RotationAngle.X
0

RotationAngle.Y
0

RotationAngle.Z
180

TModel3D
Name
Model3D1

MeshCollection
Select your Object file


TModel3D
Name
Model3D2

MeshCollection
Select your Object file


TModel3D
Name
Model3D3

MeshCollection
Select your Object file


Set the position like below figure


7.       Now we setup the Animation
1.       Create Animation for Helicopter Object, by adding TFloatAnimation under Helicopter

2.       Create animation Object  for the Rotor, by adding TFloatAnimation under Model3D1 object

3.       Create animation Object  for the tail, by adding TFloatAnimation under Model3D3 object


8.       Now we are ready for testing. Pressing F9

Then you will see that your 3D animation is working. There result as below figure


Now is the final touch, add the Skin. Because it doesn’t looks good without skin on it.
Add texture Material


Load texture material

Then we can add below script, onShow Event

Now RUN again

TADAAA. Your animation is ready to deploy. It‘s Easy right!


for the result you can see at  this link

Firemonkey XE6 Tutorial: How to clone 3D Object

Detail


By M. Yadi M


This tutorial shows how to clone 3D object. Here you will learn
1.       How to create  object
2.       How to clone 3D Object
Our objective will be as shown on below figure

Before we go into the codes, prepare the 3D objects. In this sample I have a car 3D object, you can have another one. To get free 3D object you can download it from internet.


 Let’s start into the code
1.       Open Delphi XE6

2.       Choose Firemonkey Mobile Application

3.       Select blank application

4.       For debugging purpose , add Platform on target platform then select  32Bit Windows, if your OS is windows 64 bit then choose 64bit Windows

5.       our form design will be like below figure

6.       Lets we define the components one by one

Component
Property
Value
Event
TViewport3D
Name
Viewport3D1


Align
Client

TDummy
Name
Dummy1


Position.X
0


Position.Y
0


Position.Z
0


RotationAngle.X
0


RotationAngle.Y
0


RotationAngle.Z
180

TModel3D
Name
myCarModel


MeshCollection
Select your Object file


7.       Now create new DataType for our Clone object

8.       Add array variable to put our object, so we can set number of cloned object we want

9.       Add new procedure to generate number of our cloned objects


10.   Add below script in implementation

11.   Let’s call our procedure on OnShow Event. I put 3 for number of cloning object, you can change it by any number you want.


12.   Finish, now we can test our Application. Run the application by Pressing F9


TADAA. Your object is cloned. It‘s Easy right!
Thanks for visiting my Blog.
 
Delphi Programming Tutorial © Mang Yadi Site 2015