By M. Yadi M.
This tutorial shows how to create 3D animation. Here you
will learn
1.
How to load 3D object
2.
How to animate 3D object
3.
How to add texture
Our objective as seen on below figure
Before we go into the codes, let’s prepare the 3D objects
1.
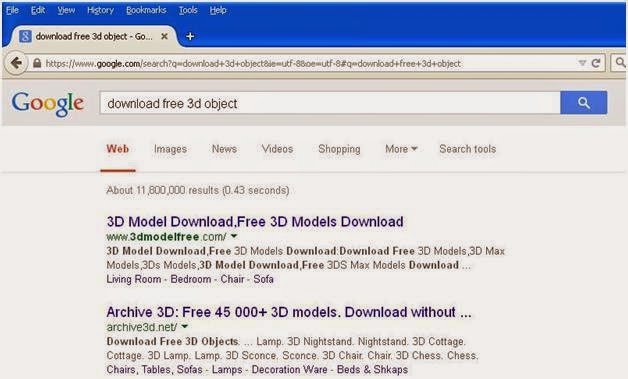
You can download 3d objects from the internet
2.
Or you can create the 3D objects by your self
Let’s take above objects as our sample
Now we are ready for the code
1.
Open Delphi XE6
2.
Choose Firemonkey Mobile Application
3.
Select blank application
4.
For debugging purpose , add Platform on target
platform then select 32Bit Windows, if
your OS is windows 64 bit then choose 64bit Windows
5.
The form will be like below figure
6.
Let’s we define the components one by one
Component
|
Property
|
Value
|
Event
|
TViewport3D
|
Name
|
Viewport3D1
|
|
Align
|
Client
|
||
TDummy
|
Name
|
Hellicopter
|
|
Position.X
|
0
|
||
Position.Y
|
0
|
||
Position.Z
|
0
|
||
RotationAngle.X
|
0
|
||
RotationAngle.Y
|
0
|
||
RotationAngle.Z
|
180
|
||
TModel3D
|
Name
|
Model3D1
|
|
MeshCollection
|
Select your Object file
|
||
|
|
|||
TModel3D
|
Name
|
Model3D2
|
|
MeshCollection
|
Select your Object file
|
||
|
|
|||
TModel3D
|
Name
|
Model3D3
|
|
MeshCollection
|
Select your Object file
|
||
|
|
|||
Set the position like below figure
|
|
|
7.
Now we setup the Animation
1. Create
Animation for Helicopter Object, by adding TFloatAnimation under Helicopter
|
|
|
2.
Create animation Object for the Rotor, by adding TFloatAnimation under
Model3D1 object
|
|
|
3.
Create animation Object for the tail, by adding TFloatAnimation
under Model3D3 object
|
|
|
8.
Now we are ready for testing. Pressing F9
Then you will see that your 3D animation is
working. There result as below figure
Now is the final touch, add the Skin. Because it doesn’t looks
good without skin on it.
Add texture Material
Load texture material
Then we can add below script, onShow Event
Now RUN again
TADAAA. Your animation is ready to deploy. It‘s Easy right!


